Arduino Countdown Timer (modified version)
|
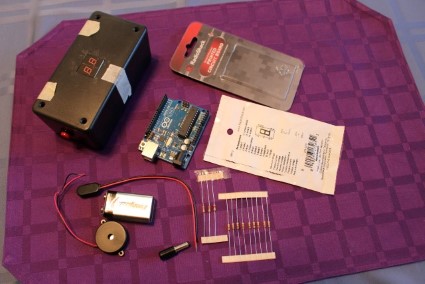
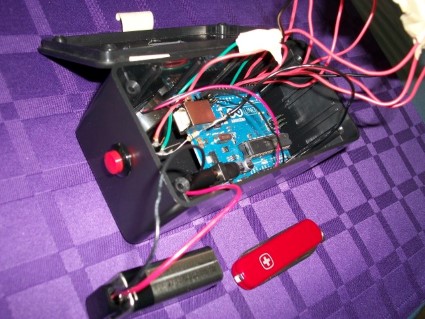
Before Pieces |
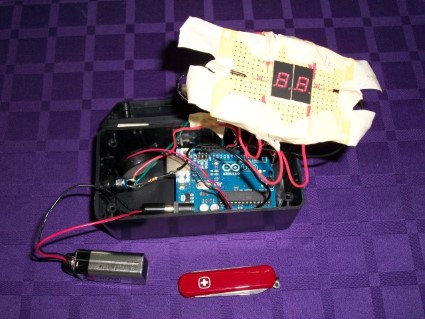
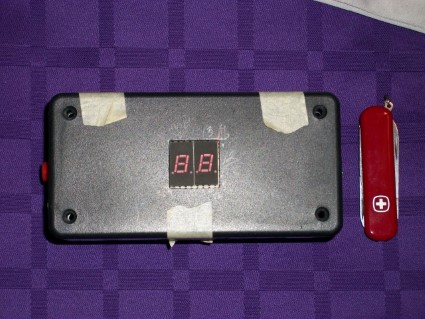
After Opened/Closed |
|
|
|
|
What is it?
A fun and exciting hobby project for demonstrating programming ability and electronic understanding.
What does it do? / How does it work?
- Starts out with timer at 99 seconds.
- Pressing button 1 time. = Starts counting down to 00 (then blinks 00 and sounds buzzer repeatedly).
- Pressing button 1 time (during countdown). = Pauses/Unpauses timer countdown.
- Pressing button 3 times in 1 second (@ anytime). = restarts program (@ 99 sec. and waiting).
What technologies are involved?
- Arduino Uno, a microcontroller-like device.
- Arduino programming language code, called sketches (similar to the c programming language).
- and all of the electronic pieces.
What are the pieces of the timer?
| Arduino Uno | enclosure box | piezo (buzzer) | SPST pushbutton switch |
| 7-segment display x 2 | grid-style PC board | 9V snap connector | coaxial power plug |
| resistors x 3 | 9V battery | wiring |

|
|
What is the story behind the project?
I wanted to have fun building a project from the ground up. First I purchased all of the pieces to the timer. Next I followed the instructions and put the pieces together. The estimated time of 12 hours was how long it really took. The code for the computer program instructions came with the timer. (So the code for it is not my code, but in the public domain.) One day I demonstrated the timer to a friend. I noticed the timer starts at 99 seconds and takes too long to demonstrate for people. Using my creativity I decided to make an upgrade to the timer! I thought if I could make it easier to demonstrate I could use some of my own code! Now the timer has a brilliant addition. The change I made now allows for the buzzer to make a sound sooner. My addition includes an action after 2 button presses to change the countdown change to 10 seconds. The change to the timer code demonstrates my ability to analyze code and modify it in the style of the original programmer!
What does my modified version do?
- Pressing the timer 2 times in 1 second = Accelerates timer to countdown @ 10 sec. If already 10 sec. it will do nothing (but a reset to 99 sec. is possible).